
LinkedIn to Salesforce: how to send qualified LinkedIn leads into Salesforce with Zapier or a webhook
How to send qualified LinkedIn leads into Salesforce with Zapier or a webhook: Lead vs Contact, field mapping, de-duplication and routes.
traxy has no native Salesforce connector as of November 9, 2026. The documented paths are a Zapier connection, where a Zap receives traxy's signed lead event and runs a Salesforce find-or-create step, or a webhook into your own service that writes to Salesforce. Either way, connect a saved lead view through a route, decide whether each person becomes a Lead or a Contact, de-duplicate on email or LinkedIn URL, and write the signal and ICP match into Salesforce so the rep knows why the lead arrived.
Last checked: November 9, 2026, against traxy's integrations overview, Zapier, webhook and routes docs.
Which path should you use?
Zapier | Webhook to your own service | |
|---|---|---|
Setup | No code for the basic flow | A developer builds and hosts the receiver |
Salesforce logic | Zapier's Salesforce actions (find, create, update) | Anything your code can do through the Salesforce API |
Signature check | Possible with Catch Raw Hook and a code step | Straightforward in code |
Best for | Small teams, quick start | Custom matching, account rules, high volume |
Both use the same traxy side: a connection, a test payload, and a route.
Before you map anything: decide Lead or Contact
Settle this first, because it decides every mapping that follows.
The person's company is a new prospect. Create a Lead. This is the usual case for people found through LinkedIn engagement.
The company is already an Account in Salesforce. Consider creating a Contact on that Account, or a Lead your team converts, depending on your process.
The person already exists. Update the existing record and add the new signal as a task or note instead of creating a duplicate.
Salesforce's standard Lead object requires a last name and a company. Check your org's own required fields and validation rules before you test.
Step 1: Set up the receiver
Zapier: Create a Zap with Webhooks by Zapier as the trigger. Use Catch Hook for parsed fields, or Catch Raw Hook if you will verify the signature (Zapier's docs say it includes headers). Copy the URL and turn the Zap on.
Webhook: Deploy an HTTPS endpoint that accepts POST requests outside a temporary test session.
Step 2: Connect it in traxy
Open Integrations and choose Zapier or Webhook.
Enter a connection name and the HTTPS endpoint.
Add an authentication header if your receiver requires one, then save.
Open Settings to review triggers and Payload & help.
Select Send test payload and confirm it arrived.
Field names for mapping come from the payload sample in Payload & help. The payload carries available lead, company, contact and engagement fields. First-delivery and repeat-engagement events serve different purposes, so handle them separately.
Step 3: Map fields into Salesforce
A starting map. Adjust names to your payload sample and your org.
traxy payload area | Salesforce field | Notes |
|---|---|---|
First and last name | FirstName, LastName | LastName is required on Lead |
Company name | Company (Lead) or Account lookup (Contact) | Company is required on Lead |
Title | Title | |
Work email, if saved | Use for matching when present | |
LinkedIn profile URL | Custom field, e.g. LinkedIn_URL__c | Second matching key |
Signal summary and label | Custom long text field or a Task | Why the lead arrived |
ICP match | Custom number field | Lets reps sort |
Source | LeadSource | e.g. "LinkedIn engagement (traxy)" |
Event type | Custom field or Task subject | First delivery vs repeat engagement |
Keep the signal text. A Lead with only a name and title looks like any purchased list, and the rep has nothing to reference.
Step 4: De-duplicate
traxy's docs say lead delivery can retry temporary failures, so build for repeated events.
In Zapier: Use a Salesforce Find Record step on email, then on LinkedIn URL. Use the option to create the record when none is found, or branch with Paths: update when found, create when not.
In code: Query by email and LinkedIn URL before inserting. Make the write idempotent on a stable ID from the payload.
For repeat-engagement events, update the existing record and create a Task with the new signal. Don't create a new Lead.
Step 5: Add the route
Open the connection's Routes tab and select Add route.
Choose a saved view, for example qualified leads with a Warm signal (filter and save audiences).
Select the endpoint and choose Auto or Manual. For Auto, review the ICP match threshold.
Save.
Automatic routes apply to leads entering the view after you save. To send leads already in the view, select them in Leads, open Send to and choose the route. A queued result means the request was accepted. Check the delivery result to confirm.
Assign the right Salesforce owner and note why the lead qualified
Send qualified leads from traxy by Zapier or a webhook, let Salesforce lead assignment rules pick the owner, and write the qualifying post and ICP match into a note, Task or custom field. traxy delivers the lead and the evidence; Salesforce decides which rep owns it.
Assignment rules pick the owner. Salesforce says lead assignment rules can assign leads to users or queues based on region, product or other lead criteria, with a separate rule entry for each criterion, and only one rule can be active at a time. The default lead owner gets any lead the rules don't assign. Some companies assign by location, others send every new lead to a queue first.
Check that your rule runs on these leads. Salesforce notes that a lead entered by hand only goes through the active rule when the assign-using-active-assignment-rule option is selected. Leads your Zap or code creates are a different entry path, so create a test Lead from the route and confirm the owner it lands with before you turn on Auto delivery.
Write the reason where reps look. Put the qualifying post or comment, the signal label and the ICP match into the long text field or Task from the Step 3 map.
Salesforce facts from Salesforce's tips for lead administrators and Trailhead's guide to tracking prospects with leads, checked November 2026.
A note template, with made-up values:
Why this lead: commented on a tracked competitor's post about moving off spreadsheets for lead tracking ("We hit this exact wall last quarter"). ICP match 82%, Warm. Head of Sales Ops at a 120-person B2B software company. Source post linked. Sent by the traxy route "Warm leads to CRM".
Build the note only from fields your payload sample in Payload & help shows; traxy's docs say events carry event metadata and the available lead, company, contact and engagement fields, and the app sample is where the exact names live. If a value isn't in the sample, leave it out of the mapping and link the rep to the lead in traxy, which keeps the post or comment behind every lead and its ICP match.
For the same flow in HubSpot and other CRMs, see how to route LinkedIn post engagement leads to the right sales rep in your CRM. traxy runs your entire LinkedIn GTM end to end, so the same shared view can also feed a campaign with LinkedIn and email outreach from your own connected accounts and optional research on each lead; it runs on autopilot after you approve the launch, or you approve every message.
Verify the signature
Requests include X-Traxy-Signature and X-Traxy-Timestamp. Follow Payload & help to verify them with the signing secret. If you rotate the secret, update your receiver first.
Worked example
A B2B services firm tracks two competitors and three industry voices in traxy. It saves a shared view called "Warm, ICP 70+" and routes it to a Zap.
The Zap runs four steps: Catch Hook, Salesforce Find Record on Email, Find Record on LinkedIn_URL__c, then a Path. If no record is found, it creates a Lead with LeadSource "LinkedIn engagement (traxy)" and the signal in a long text field. If a record is found, it creates a Task on that record with the new signal.
Reps work from a Salesforce list view filtered on that LeadSource and sorted by the ICP match field. This is an example setup, not a measured result.
What to keep in traxy vs Salesforce
traxy: discovery, qualification, signal evidence, fit feedback, campaigns with review before launch
Salesforce: ownership, stages, opportunities, reporting
Avoid running outreach to the same person from both systems. traxy allows a lead in only one active sequence at a time, and a reply stops active sequence outreach (sequences). Salesforce-side cadences don't know about that.
Common problems
Problem | Fix |
|---|---|
Zap fails on create | A required field is empty. Check LastName, Company and your org's validation rules. |
Duplicates | Add Find Record steps and key on email and LinkedIn URL |
No contact email | Email depends on saved contact details. Lookups are a separate step. Email lookup is included with eligible plan access. Phone lookup requires the phone add-on or an entitlement that includes it. See contact details. |
Existing leads never arrived | Routes don't backfill. Send them manually. |
Route paused | Repeated failures. Fix the receiver, then resume. |
FAQ
Does traxy sync two ways with Salesforce?
No two-way Salesforce sync is documented. The documented flow sends lead events out of traxy.
Can I send to HubSpot the same way?
Yes. The same Zapier connection and route can feed a HubSpot step instead. See best LinkedIn tools for HubSpot and best LinkedIn CRM integrations.
Does sending to Salesforce use lead capacity?
No. A person counts once, when first delivered as a qualified lead in traxy. Routing and export don't count them again (qualification).
Can I use n8n instead of Zapier?
Yes. n8n is one of traxy's webhook-style connections. See n8n LinkedIn lead workflow.
Can Salesforce assign the owner for traxy leads, with a note on why they qualified?
Yes, Salesforce does the assignment and traxy supplies the reason. Route a saved traxy view to Zapier or a webhook, create the Lead, and let your active lead assignment rule assign it to a user or queue; test once that the rule runs on leads your Zap or code creates. Write the qualifying post and ICP match into a long text field or Task from the fields in your payload sample. See the steps above.
Next step
Create a test Lead layout field for the signal, route a small saved view from traxy to a Zap, and check ten records by hand before turning on Auto delivery.
Keep reading
All LinkedIn Lead Generation guides
LinkedIn Lead Generation (2026): What It Is, Strategy, Tips and Tools for B2B
What LinkedIn lead generation is, a 7-step B2B strategy, the 5 main tactics, tips, tools and metrics, plus every LinkedIn lead generation guide we publish.
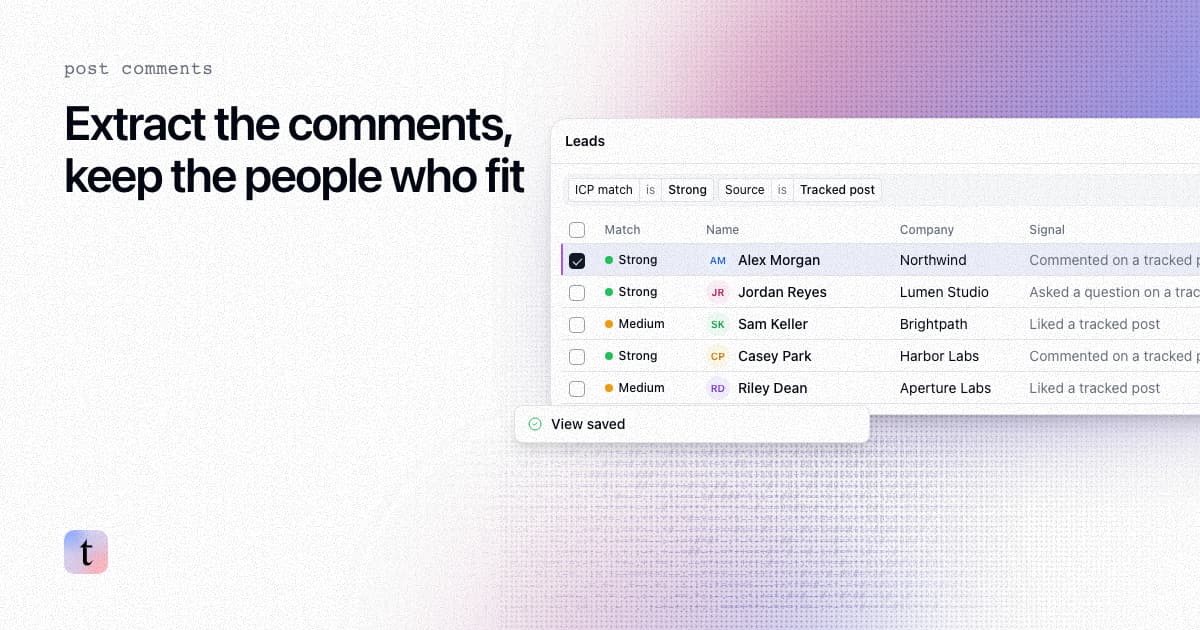
How to extract comments from a LinkedIn post, and keep only the commenters who fit your ICP
Four ways to extract comments from a LinkedIn post, what each returns and risks, and how to keep only the commenters who fit your ICP.
How to find leads from the people who engage with a LinkedIn company page
Most company page engagers are employees, job seekers and peers. How to find the ones who fit your ICP, with the post that brought each one in.